

How to Design an Open Kitchen: Expert Tips for a Space That Feels Bigger and Brighter
Ready to turn your closed-off cooking corner into an airy, social hub? If you’ve been wondering how to design open kitchen spaces that look great, function smoothly, and feel like the heart of the home, you’re in the right place. I’ve helped friends and family open up their kitchens, and each time the reaction is the same: “Why didn’t we do this sooner?” Let’s walk through everything—from layout and lighting to storage and style—like two design nerds chatting over coffee. Sound good?
Why an Open Kitchen Works (And What You’re Probably Worried About)

Open kitchens connect cooking, dining, and living so everyone hangs out together. That means better flow, more natural light, and a space that finally fits your lifestyle. But yes, you might be thinking: won’t it look messy, smell like food, or feel noisy? We’ll solve all of that with zoning tricks, smart storage, and ventilation. FYI, you don’t need a giant room to pull this off—small spaces can shine with the right plan.
Start With a Game Plan

Map Your Daily Flow
How do you actually use the space? Cook alone on weeknights and host friends on weekends? Love baking but rarely fry? Your answers determine appliance placement, prep zones, and seating.
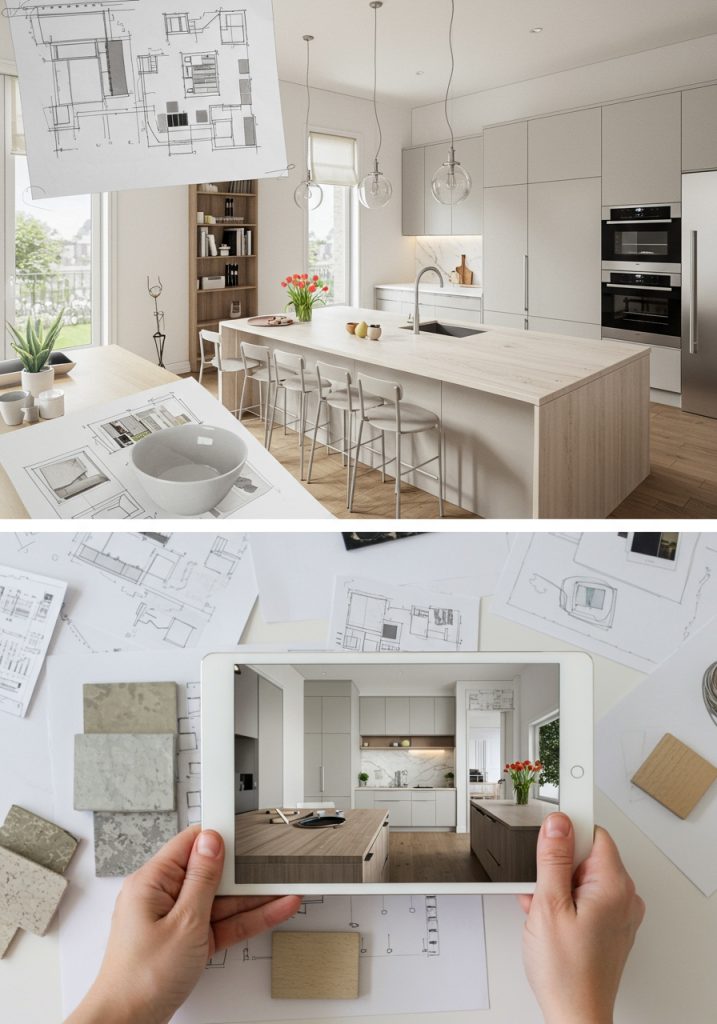
Measure, Then Measure Again
Sketch your room and note windows, doors, and columns. Mark power points, plumbing, and structural walls. Even if you’re hiring out, a simple dimensioned plan helps you make solid decisions fast.
Quick check-list:
- Main aisle clearances: 36–42 in for comfortable movement.
- Island seating overhang: 10–12 in for stools.
- Dishwasher to sink: Within 36 in for easy loading.
- Fridge door swing: Leave 3–4 in side clearance from walls.
Choose the Right Open Layout
Work Triangle vs. Work Zones
The classic work triangle (sink–fridge–range) still works, but open kitchens often flow better with zones: prep, cook, clean, coffee, bake, and serve. Ask yourself: What sequence do I use most? Then place tools and surfaces accordingly.
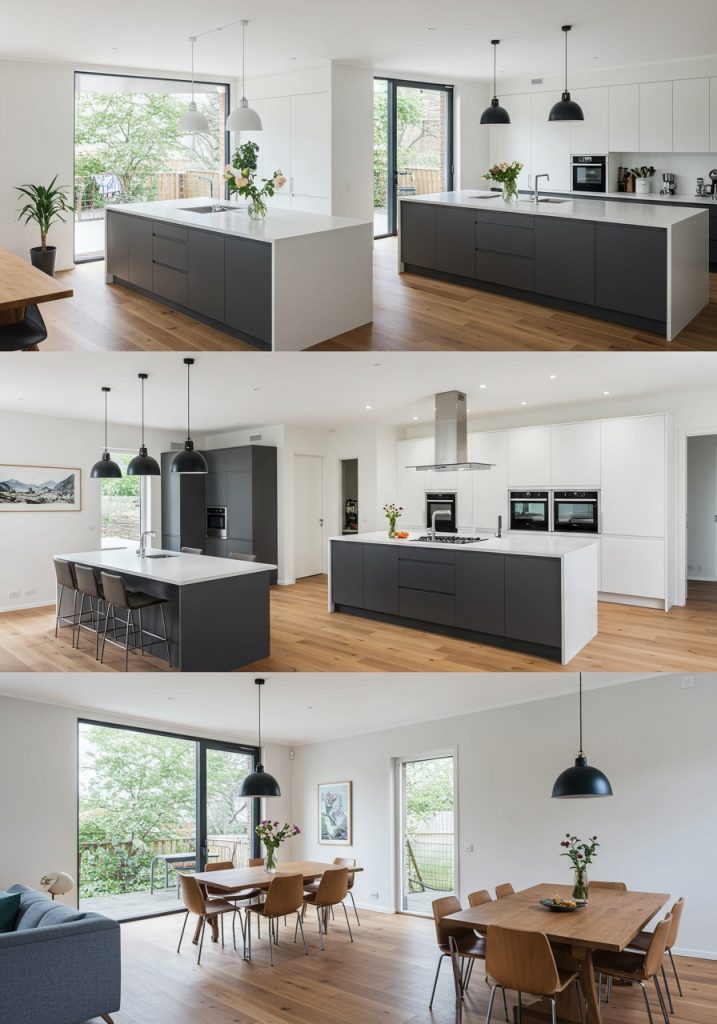
Layouts That Love Open Plans
- One-Wall + Island: Ideal for apartments. The island handles prep and seating.
- L-Shape + Island: Great family setup with a strong prep–cook–serve loop.
- Galley Open on One Side: Parallel counters with a social aisle facing the living area.
- U-Shape with Peninsula: Built-in boundary that still feels open and friendly.
If your kitchen meets a compact lounge, peek at these apartment living room designs to keep the whole zone cohesive.
Zone Without Walls (Ninja-Level Space Planning)
Define Areas with Surfaces
- Flooring: Run wood through living + kitchen for unity, then add a matte tile rug under the cook area to signal “work zone.”
- Ceiling: Soften the kitchen side with a dropped ceiling or subtle beams; it visually “rooms” the space.
- Rugs & Runners: Anchor the lounge with a larger rug so the island edge doesn’t feel like a border.
For small lounges next to your kitchen, these small living room ideas are gold for scaling furniture and layouts.
Furniture as Gentle Dividers
Turn the sofa to face the kitchen island so conversation flows naturally. Add a slim console behind it for drop-zone storage. If you need momentary separation, try stylish partitions—these smart room divider ideas work without blocking light.
Storage That Stays Pretty in Plain Sight
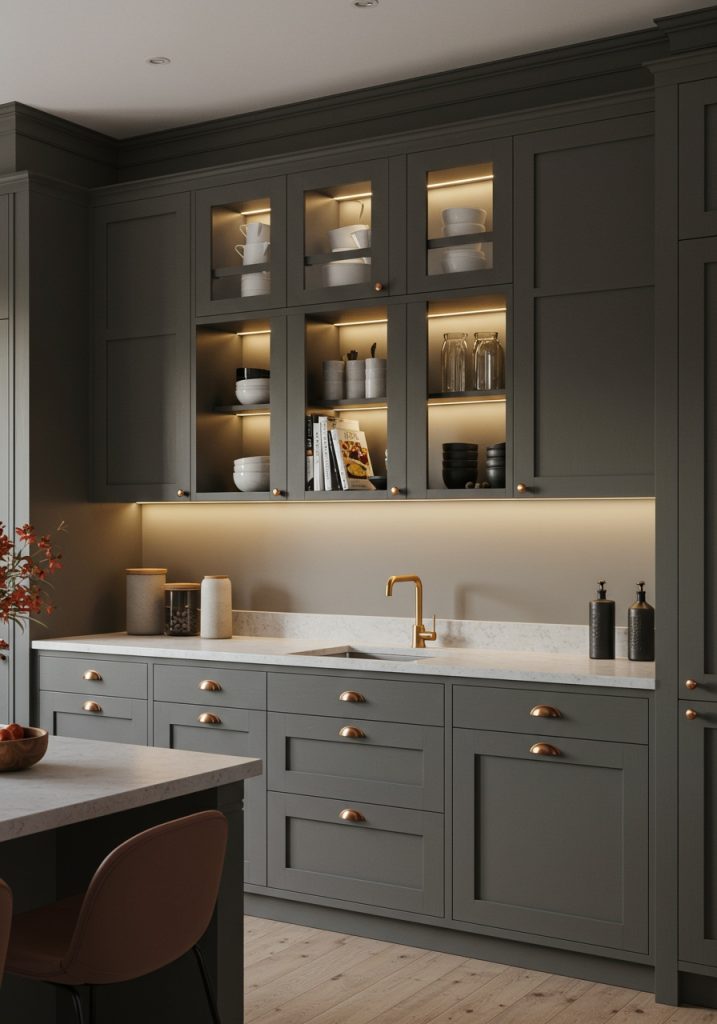
Open kitchens need clutter control. Choose closed cabinetry for the heavy-lift storage and keep a few open shelves for curated pieces you use daily.
Top Storage Strategies
- Full-Height Cabinets: Take them to the ceiling to hide bulk items and seasonal cookware.
- Pantry Wall: One sleek wall of cabinets beats random cupboards all over.
- Corner Heroes: Don’t waste that awkward space—browse clever kitchen corner cabinet ideas for lazy Susans, pull-outs, and swing trays.
- Drawer Dividers & Pegs: Organize plates and pans so drawers do more than cabinets.
Materials & Color: Tie the Whole Space Together
Countertops & Cabinets
- Counters: Quartz is durable and low-maintenance; wood warms up social islands; porcelain handles heat like a champ.
- Cabinets: Mix matte lacquer with wood veneer for depth. In an open plan, cabinet finish sets the mood for the entire zone.
Backsplash & Wall Strategy
Keep sightlines calm. Use a tone-on-tone backsplash or carry it to the ceiling for drama without clutter. For personality outside the splash zone, try these tasteful kitchen wall decor ideas (and broader wall decor ideas for the living side).
Palette Play
Choose one cohesive palette for kitchen + living so everything feels intentional. Need help narrowing to two or three colors you’ll love long-term? Skim these expert-led color palette ideas. If you’re into crisp contrast, this guide to black countertops with white cabinets shows how to nail that modern monochrome.
Light It Like a Pro (Without Turning It into a Stage)
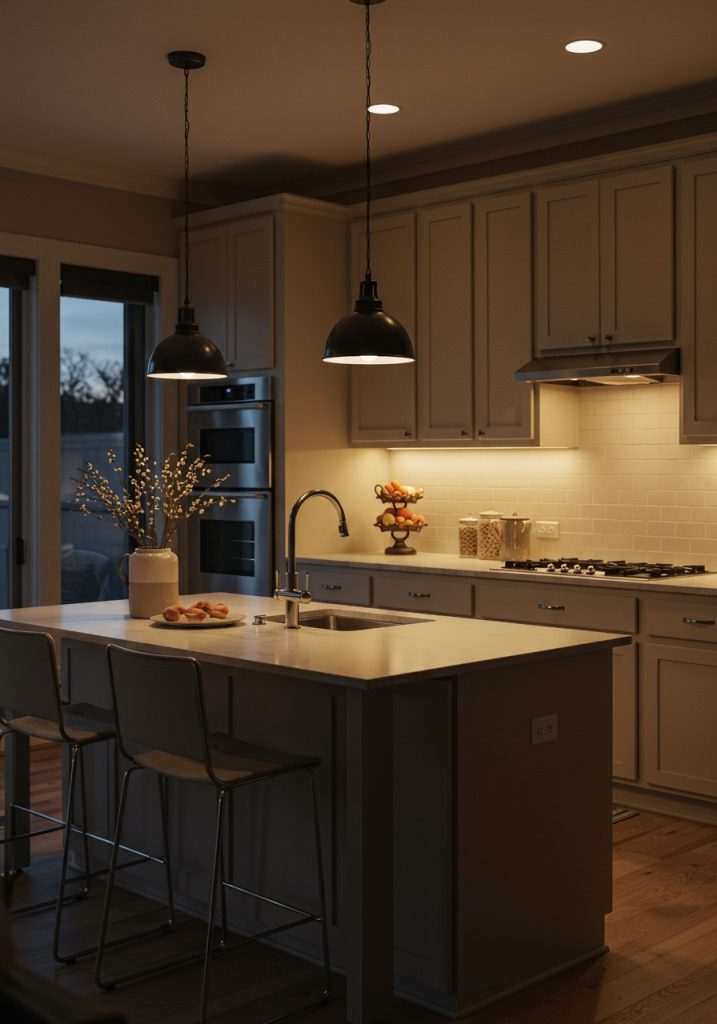
Lighting makes or breaks an open kitchen. Layer it.
The Three Layers
- Ambient: Recessed lights or a minimal track provide overall glow.
- Task: Under-cabinet LEDs, island pendants, and range lighting keep work areas bright.
- Accent: Inside-glass cabinet lights, wall washers, or a single statement sconce add mood.
Smart dimmers let you dial down the kitchen during movie night. Want a deeper dive on fixtures and placement? Start with these practical living room lighting ideas to sync fixtures across the open zone.
Ventilation & Acoustics (A.K.A. The Open-Kitchen Peacekeepers)

Get the Right Hood
Pick a quiet, powerful hood vented to the outside. Aim for 350–600 CFM for standard cooking; go higher for heavy searing or a large cooktop. Mount it at the manufacturer’s recommended height so it actually captures steam instead of just looking pretty.
Tame the Noise
- Panel-Ready Appliances: Reduce humming and visual noise.
- Soft-Close Hardware: Fewer bangs, more zen.
- Textiles: A rug, drapes, or upholstered seating on the living side absorbs echo. (Bonus style points.)
Islands & Peninsulas that Work Hard
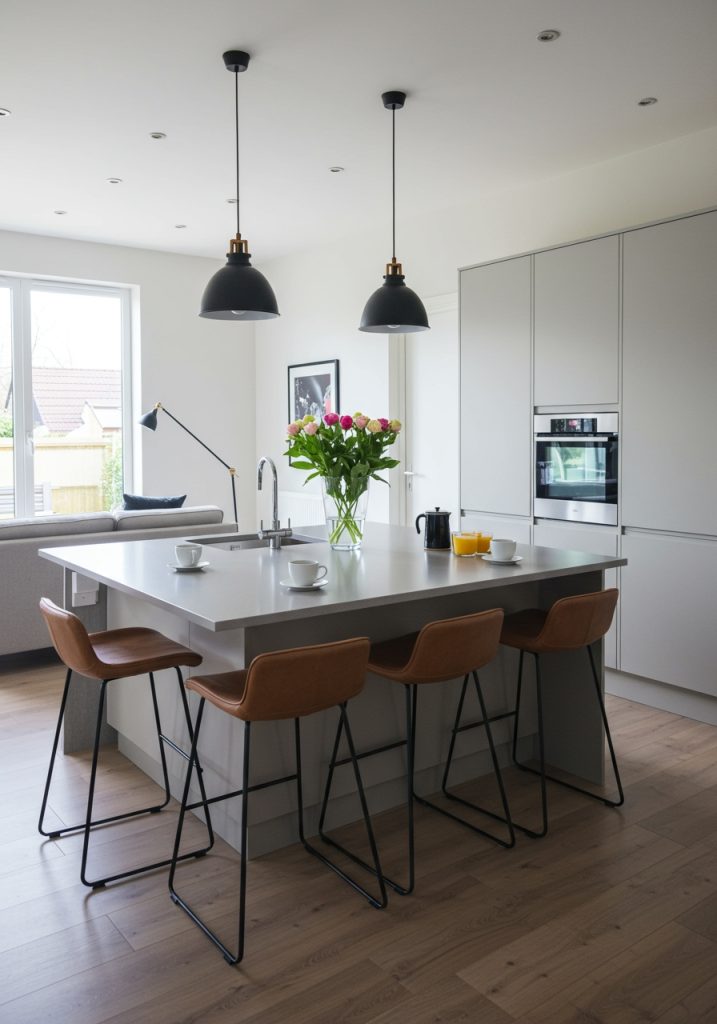
Your island is the social engine. Get the proportions right and it’ll perform all day.
Seating & Ergonomics
- Counter stool height: 24–26 in seat for 36 in counters.
- Bar stool height: 28–30 in seat for 42 in counters.
- Elbow room: 24 in width per seat minimum.
- Knee space: 10–12 in overhang so legs fit comfortably.
Power, Sinks & Drawers
- Add pop-up outlets or a flush power strip on the island’s end panel.
- Consider a prep sink on larger islands; it speeds up cooking and keeps the main sink free.
- Use deep drawers for pots and bowls, and a skinny drawer for knives with a built-in block.
Style It Like You Live Here (Because You Do)
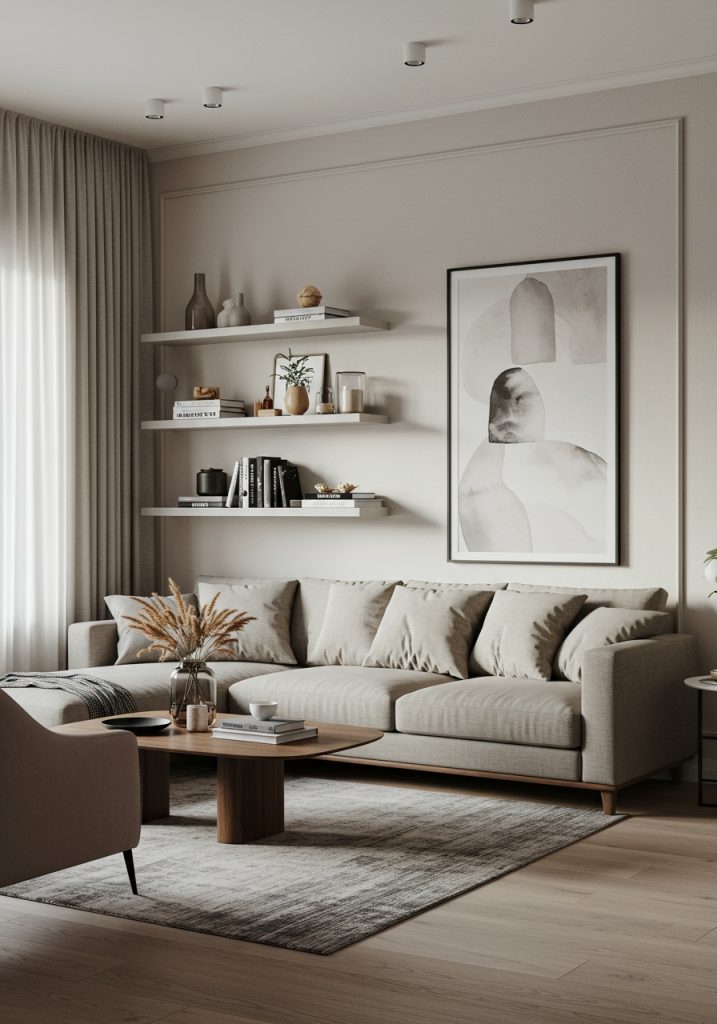
Display with Intention
Keep open shelves to one to two runs, and stick to daily-use items (bowls, glasses, cookbooks). Group in odd numbers and mix heights for that effortless look—without creating dust traps.
Art, Mirrors & Texture
A single bold art piece on the living side keeps the sightline clean; mirrors can bounce light (hello, spacious vibes). For inspiration, browse tasteful decorative wall ideas; pick frames and finishes that repeat your kitchen metals or wood tones.
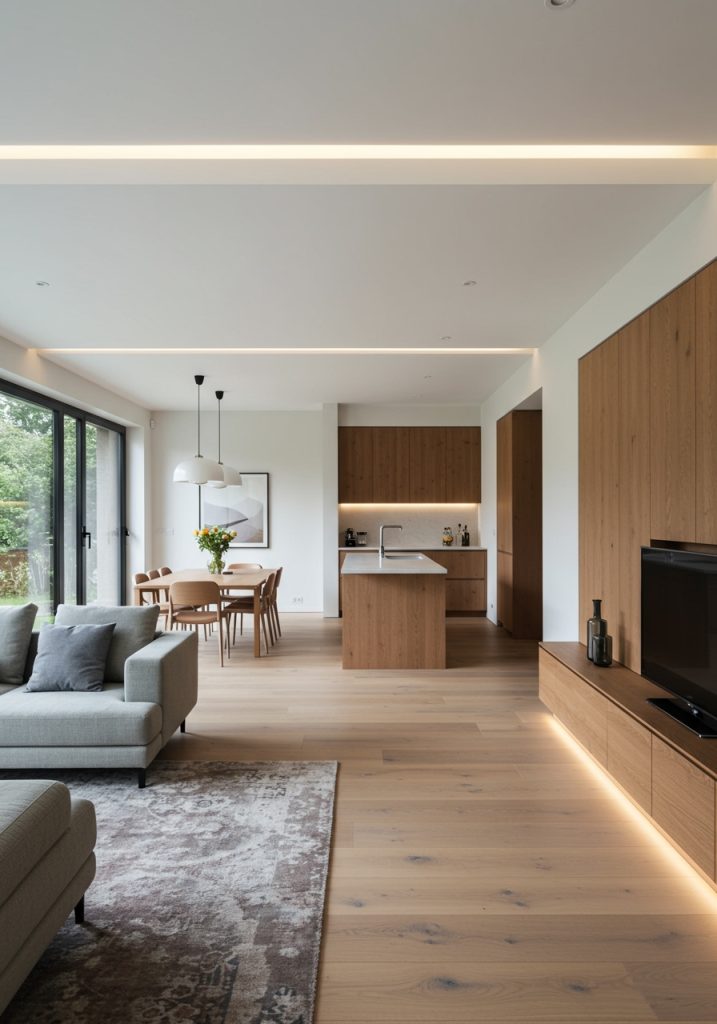
Make the Living Area Match the Vibe
An open kitchen isn’t just about the kitchen. Sync your lounge pieces so the whole open plan feels cohesive.
- Choose low-profile sofas so your island pendants stay the stars.
- Repeat materials (oak, brass, linen) across both sides for unity.
- Need guidance on the lounge buy-list? Here’s a friendly primer on how to choose furniture for a living room. If you crave calm lines and less “stuff,” these modern minimalist living room ideas are a perfect match.
Small Open Kitchens: Space-Savvy Wins

Working with less square footage? You’ve got this.
Five Space-Saving Moves
- Slim the island: 24–27 in deep islands still seat two with storage.
- Glass fronts, sparingly: Use on one cabinet stack to lighten the visual load.
- Tall pantry pull-outs: Narrow, vertical storage defeats clutter.
- Pocket or barn doors on utility closets to save aisle space.
- Unified color: Cabinet and wall color in the same hue blends edges, making it feel larger.
For even more layout finesse in tight lounges, circle back to these small living room ideas.
Budget & Phasing (Because Reality Exists)
Where to Splurge
- Ventilation: Protects air quality and keeps the whole house comfy.
- Counters & Hardware: You touch them daily; quality shows.
- Lighting & Dimmers: Control is everything in an open plan.
Where to Save
- Cabinet Boxes: Go mid-range boxes with upgraded fronts.
- Backsplash: Tile a focused area or use quartz upstands behind the range.
- Appliance Mix: Pair one statement range with budget-friendly fridge or dishwasher.
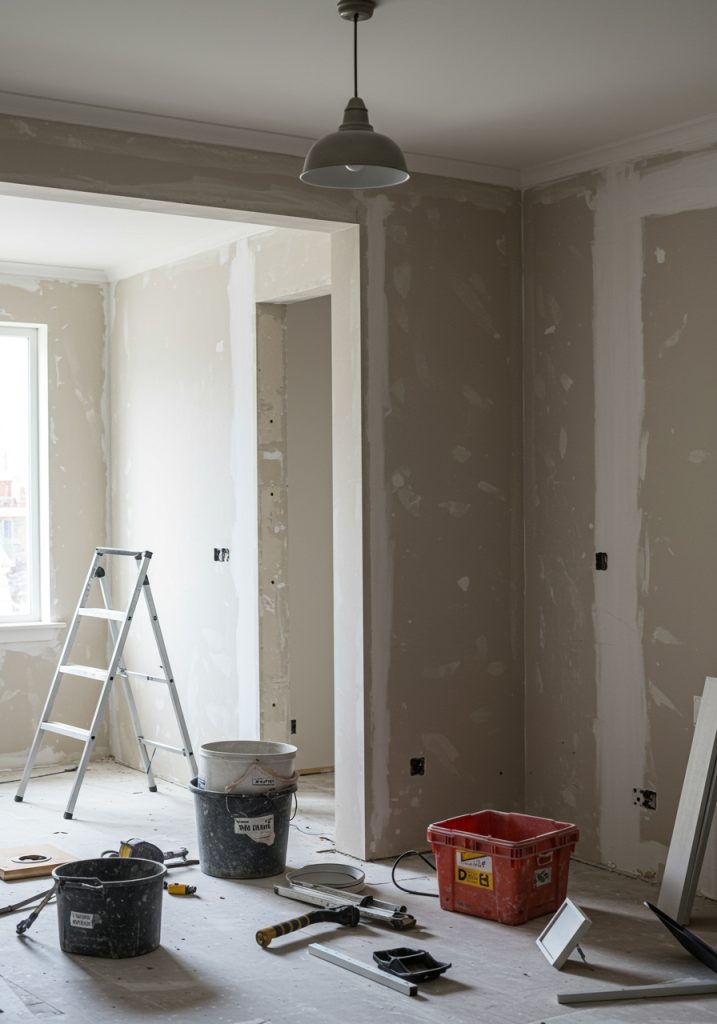
Phase the Project
Not ready for a full tear-out? Try a two-step:
- Open the wall (or widen an opening) and add an island/peninsula.
- Swap cabinets and counters later, then finish with lighting and backsplash.
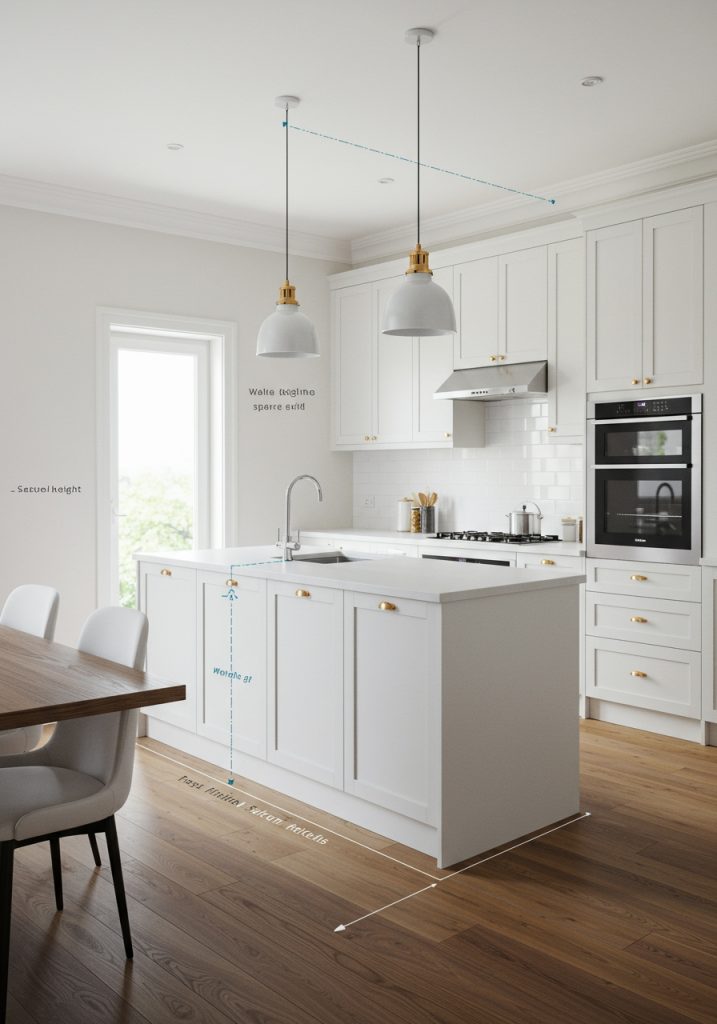
Practical Dimensions & Specs (Pin or Screenshot This)
- Walkways: 36 in minimum; 42–48 in in multi-cook kitchens.
- Between island & run: 42 in sweet spot; go 48 in if you entertain often.
- Dishwasher door + pass space: Leave 21 in standing space while open.
- Microwave height: 16–18 in above counter for safety and comfort.
- Pendant spacing: Center points 24–30 in apart; keep 30–34 in above island.
- Under-cabinet lighting: Place at front underside to avoid shadows.
- Hood width: Match cooktop width; add 3 in each side if you sear often.
(Always double-check your local codes and manufacturer specs—details vary.)
Step-by-Step: How to Design an Open Kitchen (Start to Finish)
- Set goals: Cooking style, number of cooks, entertaining habits, and storage pain points.
- Measure & sketch: Mark utilities, openings, and obstacles.
- Pick a layout: One-wall + island, L + island, open galley, or peninsula.
- Zone the space: Prep, cook, clean, coffee/snack, and serve—place tools by zone.
- Select materials: Cabinets, counters, backsplash, and flooring that tie into the living area (peek at color palette ideas).
- Plan lighting layers: Ambient, task, and accent on dimmers (sync with living room lighting ideas).
- Choose ventilation: Size the hood to your cooktop; plan exterior venting.
- Dial storage: Full-height pantry, sensible drawers, and smart kitchen corner cabinet ideas.
- Design the island: Seating clearances, outlets, and a possible prep sink.
- Style & link zones: Art, rugs, and textures that repeat across kitchen + living (browse wall decor ideas).
- Budget & phase: Decide splurges; plan upgrades in two rounds if needed.
- Install & enjoy: Adjust lights and furniture until the space flows.
Common Mistakes to Dodge (You’re Smarter Than These)
- Oversizing the island: Too big = awkward movement and stranded stools.
- Skipping dimmers: One light level never fits all moods.
- Open shelves everywhere: Beautiful in photos, dusty in real life—curate, don’t clutter.
- Ignoring acoustics: Hard surfaces bounce noise; add textiles and soft-close gear.
- Random colors: Keep a cohesive palette across kitchen and living; if stuck, start with these color palette ideas.
Inspiration Combos You Can Steal
Scandinavian Bright & Breezy
White matte cabinets, pale oak floors, slim black hardware, and linen pendants. Add a pale woven rug and a single oak-framed art piece for warmth.
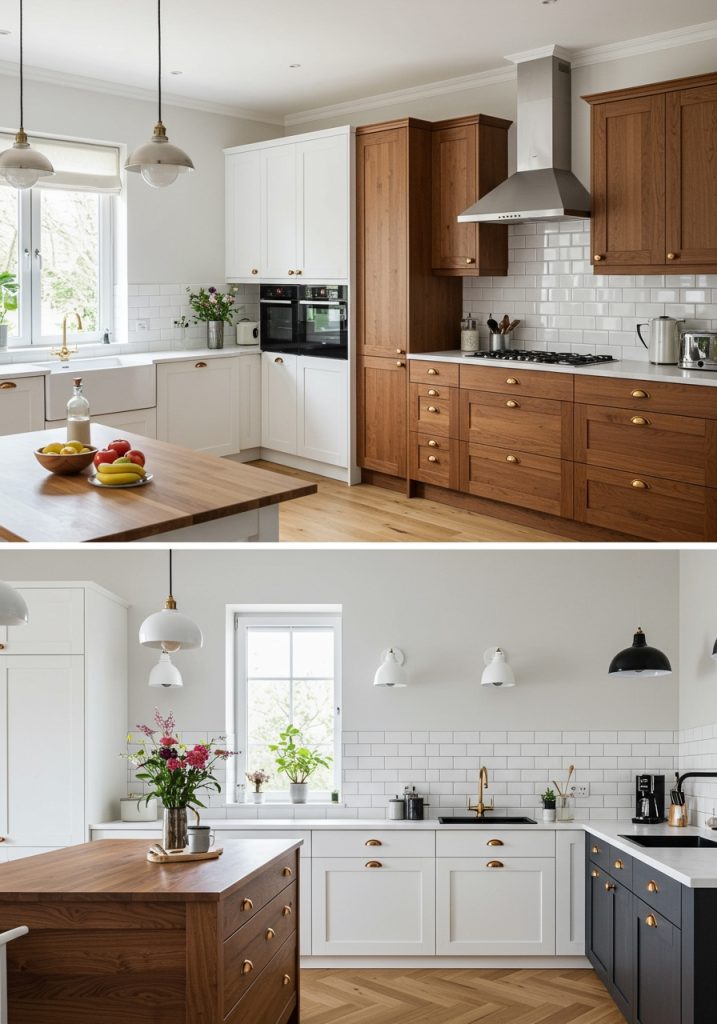
Warm Modern (IMO, the Most Livable)
Walnut lower cabinets, taupe uppers, honed quartz counters, brass pulls, and smoky glass pendants. Ground it with a textured rug and layered dimmable lamps in the lounge.
Crisp Contrast
If bold is your thing, explore black counters with white cabinets for a gallery-like look—this guide on black countertops and white cabinets breaks it down beautifully.
Final Stir: Your Open Kitchen, Served Without the Drama 😉

Designing an open kitchen is about clarity: clear zones, clear sightlines, and clear choices that fit how you live. Start with function, layer in materials that play nicely with your living area, and let lighting and ventilation keep everything comfortable. Keep storage intentional, style with restraint, and you’ll end up with a space that feels warm, social, and effortless. If you want extra inspo for the lounge side, explore modern minimalist living rooms and these smart room divider ideas to fine-tune the whole zone.
Ready to pick a palette or sketch that first layout? Take one step today—measure the room, list your must-haves, or pin a look you love—and the rest will fall into place. And if you’re still debating open shelves vs. closed, I’ve got your back: one shelf for pretty, three cabinets for sanity. That’s the energy we’re bringing into your new open kitchen.

